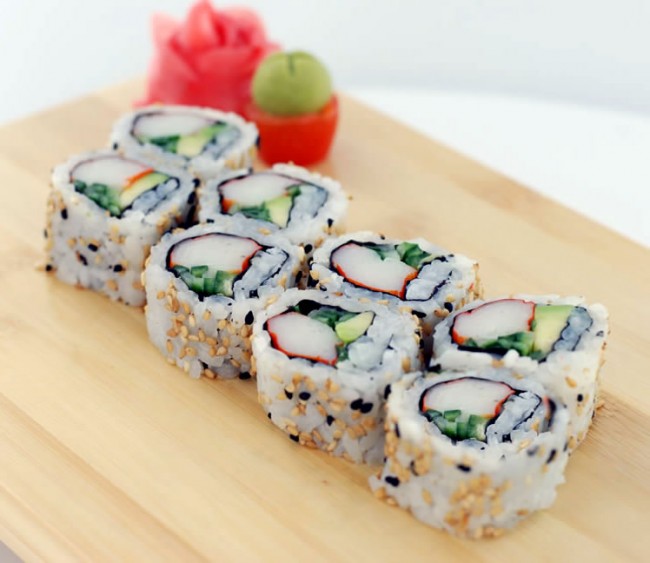
Image Credit: https://www.sushihaven.co.uk/california-roll.html
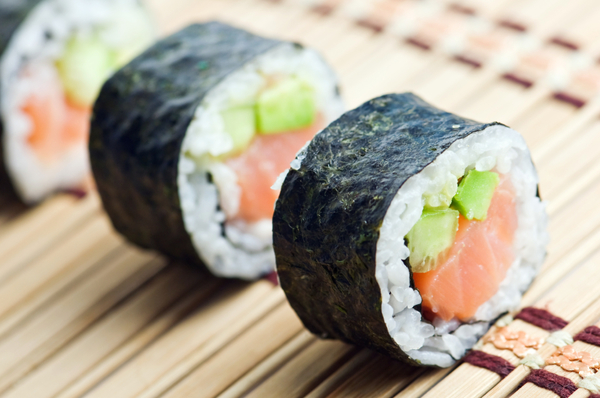
For those who are doubtful of trying new things, or even just of raw fish, California rolls are a great place to start, and to introduce your friends to sushi. In fact, they were originally made “inside out,” with rice on the outside, to make sushi more accessible to Americans. The most commonly used ingredients in California rolls are avocado, cucumber, and crab meat.
The first step is to cook the rice itself, then to season it with sushi rice vinegar. Cut your ingredients so that they’re ready for use. Gently tear the seaweed into halves. Place your bamboo mat in front of you, and lay a sheet of plastic wrap, roughly the size of the bamboo mat, on top. Lay a half sheet of seaweed on top of the plastic wrap and cover it entirely with a layer of rice. Sprinkle sesame seeds on the rice for extra decoration and taste.
Take another piece of plastic and lay it on top of the layer of rice, just to keep the rice from sticking to the bamboo mat. Flip the whole thing over, so that the seaweed is face up. Now peel the top layer of plastic off. Line up your ingredients in the center. Just like with the salmon roll, I’d recommend putting the avocado, the softest ingredient, in between the others; for example, surrounded by the crab meat and cucumber.
Now you’re ready to roll the sushi together! Just as you would with a standard roll of sushi, pull the seaweed back so it aligns with the edge of the bamboo mat, then hold the edge of the seaweed and the bamboo mat together with your thumb and index fingers. Holding the ingredients in place with your remaining three fingers, fold the seaweed layer over the ingredients and press down. Peel the bamboo mat back, realign the sushi, and finish rolling it together. Now unroll the bamboo mat, and gently tug the plastic wrap out from inside the sushi. Leaving the plastic on the outside of the sushi, roll the whole sushi again in the bamboo mat.
From here, simply cut your sushi. Because the sticky rice is on the outside, it’s easier to just cut the sushi through the outside plastic. Once you’re done cutting, pull the two edges of the sheet of plastic apart from each other and take the sushi out of the plastic layer. Enjoy!
This is the third chapter from an e-book by one of the Campus Clipper’s former publishing interns, who wrote about how to make sushi. Follow our blog for more chapters from this e-book. We have the most talented interns ever and we’re so proud of them! For over 20 years, the Campus Clipper has been offering awesome student discounts in NYC, from the East Side to Greenwich Village. Along with inspiration, the company offers students a special coupon booklet and the Official Student Guide, which encourage them to discover new places in the city and save money on food, clothing and services.
At the Campus Clipper, not only do we help our interns learn new skills, make money, and create wonderful e-books, we give them a platform to teach others. Check our website for more student savings and watch our YouTube video showing off some of New York City’s finest students during the Welcome Week of 2015.
Become a fan on Facebook and follow us on Twitter and Instagram